Koi Fish Facts
Putting Your Koi Under the Microscope
May
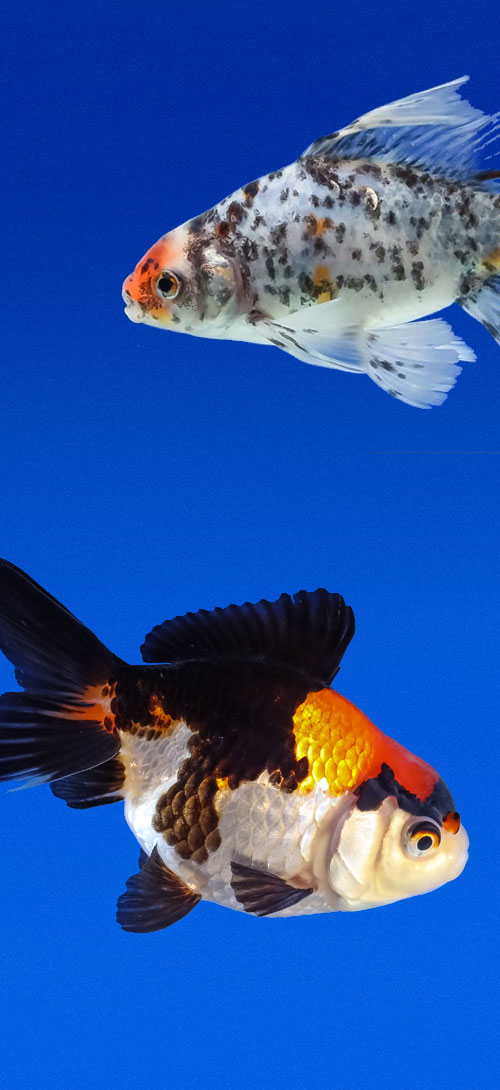
Spring is here. Your pond has thawed, and your Living Jewels are more active and visible again. It’s a great time for koi keepers. It’s also the time when water temperatures rise and those pests—both visible and invisible—find the right environment to make themselves a nuisance again.
If you are a hobbyist, this is when a microscope will come in handy. Because it is not so much a case of if as much as it is when your koi will have a health issue. The more tools you have at your disposal to quickly and accurately diagnose problems, the quicker you can move to treat the affected koi as well as mitigating the potential for damage to your entire pond.
Microscopes might not be able to identify bacteria, but they are capable of spotting parasites. Knowing exactly what particular form of illness or parasite you are dealing with is a great way to cut out the guess work as to how to treat your pond and fish. Misdiagnosing the problem and adding a treatment to your water can have adverse effects on your entire pond’s population.
In order to minimize the time that the parasite is off the body, set your microscope station up as close to the pond as possible—without getting it too close if it is an electric microscope.
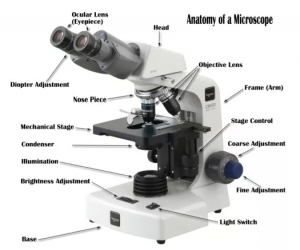
Your microscope doesn’t need to be something out of a CSI lab or set you back thousands of dollars. A compound microscope with an optical magnification of 10x and objective lens of 40x will suffice. Between the eyepiece and the objective, you will have a total magnification of 400x. Most parasites will be visible at around 150x magnification.
A light bulb is preferable to a mirror when providing the necessary light. Also, lower light will provide better contrast, so adjust the iris on the bulb so that you don’t over-light the slide.
If you ever took a science class in high school or college, you already have the skills necessary to prepare a slide. The most difficult part will be scraping your koi (which will get easier with practice). If you are having a hard time of it, ask a friend to hold the koi while you scrape.
Take slides from more than one location on a single fish.
Use a spatula, or something with rounded edges, to scrape the koi. This will reduce the risk of cutting the fish. One enthusiast recommends using a popsicle stick while others will use the cover slip or the slide itself. This YouTube video takes a look at how to scrape a koi and prepare the slide.
Check the edges of the slide first. You are more likely to find parasites there.
If there is a wound or sore, start your scraping there. If not, identify those areas where the parasites are more often found—gill plates, peduncles, base of pectoral fins, under the dorsal fin and on the belly. You don’t need a lot of mucous, so don’t over scrape.
Once you have transferred the mucous to the slide’s surface, put the cover slip over the mucous and place it on the base between the clips. If you don’t see the parasites around the edges, start at the top and sweep backwards and forwards while moving the slide down until you reach the bottom.
If you aren’t sure what you are looking at under your microscope (and you have confirmed that it is not an air bubble), an internet search will turn up plenty of pictures of parasites under magnification.
At Next Day Koi before any of our koi fish for sale are advertised, they go through a two-week minimum quarantine period, wherein they are closely monitored for any signs of health problems. Contact us to see how we can get your next koi fish to you.