Koi How To's
Tips for Photographing Koi
Feb
Just about every hobbyist wants impressive pictures of their most prized koi and goldfish. Whether submitting them for a show or posting to a website, blog, or social media account, capturing crisp and colorful images is a desirable skill. However, obtaining high-quality images of koi and goldfish is challenging even among professionals. You’re aiming at moving targets—and fast ones. Achieving show quality will require some investment but will yield significant rewards.
This guide to photographing koi will help you select the right camera and learn how to snap great portraits or pond shots of koi and goldfish.
Choosing a Camera
If you want to produce professional-grade images, you need a DSLR (Digital Single-Lens Reflex) camera. Full frame cameras will provide the best image sensors. Built-in camera flashes tend to cause glare and startle the fish. Natural lighting or a staging area with lamps is best to create the optimal brightness level.
Aperture and shutter speed are two crucial considerations when photographing koi and goldfish. Aperture refers to how wide the lens opens. The larger the aperture, the more light goes into your camera. Shutter speed controls the duration that the lens is open. The longer your shutter speed, the more moving subjects in your photo will appear blurred along the direction of the motion.
A standard 50 mm lens should provide a wide enough range of apertures to choose from in most cases. Use a shutter speed of at least 1/200 and an ISO of about 400 (the higher the ISO, the greater the camera’s ability to capture images in low light.) Polarized lenses merit debate among koi and goldfish photographers. They can help prevent surface glare or underexposure. However, they limit light and require a slower shutter speed to compensate.
Can I Just Use My Phone?
Current smartphone capabilities allow for quality pictures in many environments, but your pond is not one of them. Even a koi or goldfish in a showing bowl will produce enough movement to make your mobile picture challenging to capture—though not impossible.
If you must use a phone, arrange for the camera to take burst shots to maximize your chances of finding one that satisfies expectations. Set the orientation to portrait mode, and aim the lenses at the edge of the dorsal fin or one of the eyes. This will help achieve the contrast that the autofocus needs to work.
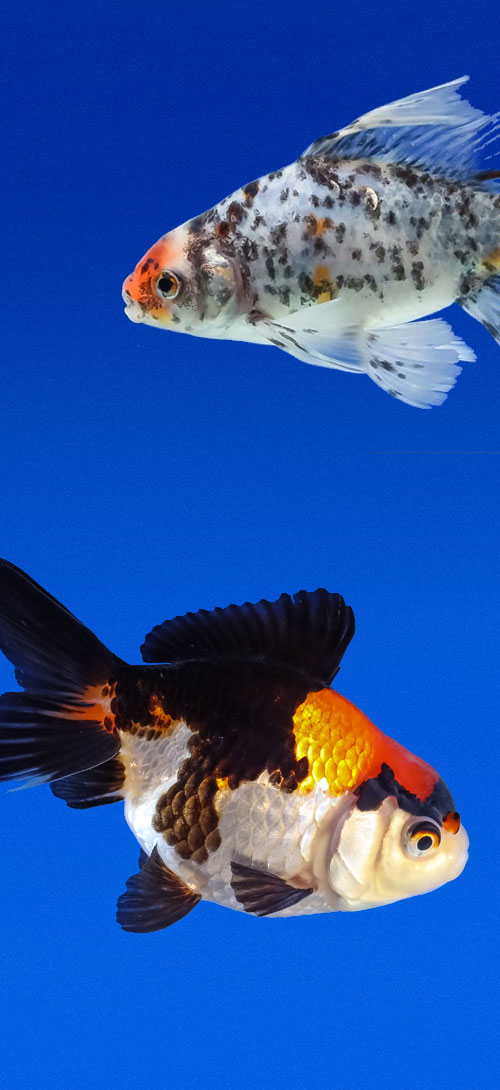
Portrait Shot
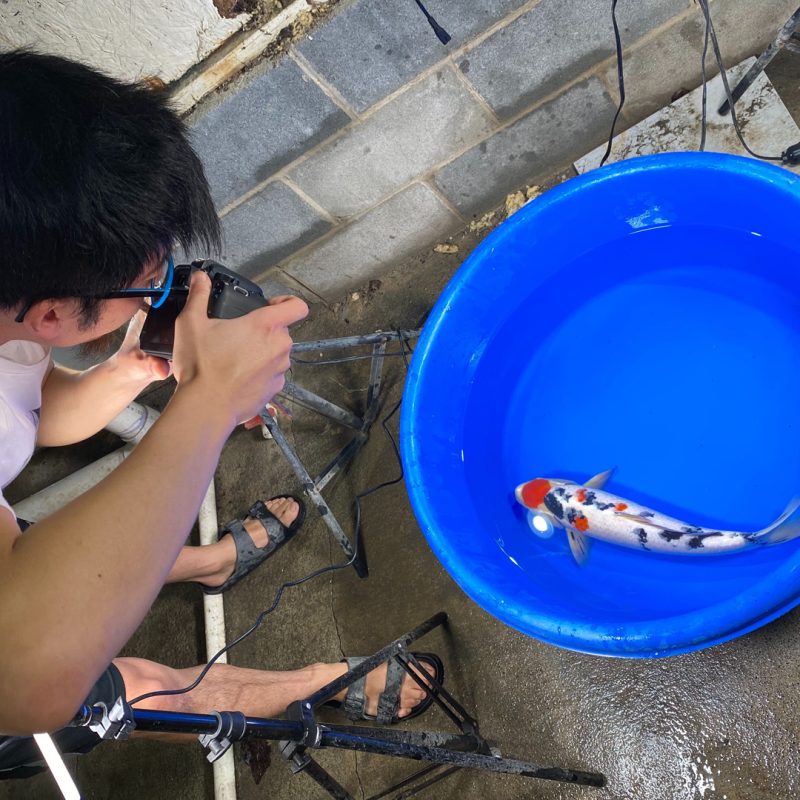
A blue showing bowl will help enhance picture quality (blue is the best background for koi and goldfish). You can shop online for various shapes and sizes or purchase one at most pond and garden centers. You also can use a blue pond liner or spray paint with plastic bonding spray in place of a showing bowl. You might have to move around to get the shot, so place the showing bowl in a location that allows access to all sides.
If you are photographing koi or goldfish for sale or competition, you should adhere to traditional image standards. The fish should face downward in the picture, with its tail at the top and head at the bottom. The body angle and the dorsal fin should be as straight as possible, with the pectoral fins symmetrically displayed. Center the image on the screen, and make sure the fish’s body is flat so that you are not showing more of one side than the other.
Several over-the-counter products exist to help keep koi and goldfish calm. One option for finicky fish is to sedate them before a photoshoot. This will make your shot easier to take and reduce their stress and help keep them from jumping. You can also talk to an aquatic veterinarian specializing in koi and goldfish. Do not try DIY methods you find online without approval from a professional.
If possible, use fresh water for the photoshoot rather than drawing it from the pond or tank. Make sure that it has a similar temperature and pH as the pond or aquarium you took the fish from, as well as adequate oxygen saturation. If pond water is more feasible, it’s best to photograph shortly after a water change and treatment. To enhance water clarity, fill a large fish bag with dechlorinated water and let it float for 30 minutes to one hour before placing the water in your showing bowl. This should eliminate visible particles in your water.
Be careful not to put too much water in the showing bowl, or it will ripple as the koi moves. Use just enough water to cover the koi or goldfish safely so that it can breathe comfortably. Lightly misting the water’s surface with isopropyl alcohol will help disperse any bubbles. Once the koi or goldfish is settled and swimming, wait for it to glide down the center of the bowl in the proper position and then take several shots—and be patient. While you might get lucky right away, it is more likely that you’ll need to take dozens of photos before finding your perfect one.
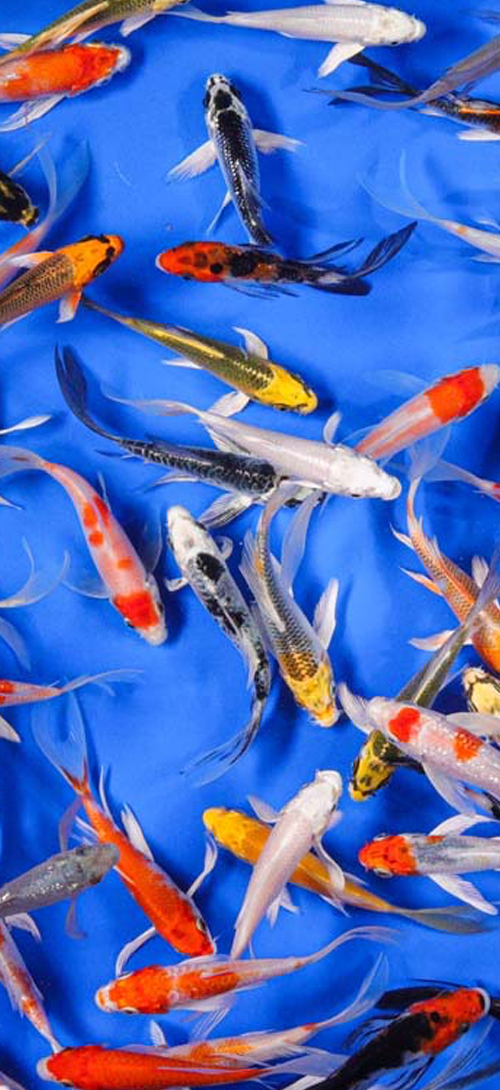
Outdoor Pond Shots
A more advanced but worthwhile skill is learning to capture action shots of your pond. However, koi and goldfish are lightning-fast, and their reflections in the water can be challenging to work around. You need to develop sports photography techniques to avoid blurred images.
Developing a steady hand will be the first skill you need to master. A tripod is not well suited to photographing fish because they move so fast and might never line up in a good position for whenever you set the tripod. You need to be on the move with them to capture the best images, which means holding the camera steady while maneuvering around the pond.
You can avoid camera shake by keeping a steady gait and supporting the camera in the palm of one hand with your fingers gripping the lens. With your other hand, grip the side of the camera and place your forefinger on the shutter button. Spot your target through the viewfinder, and then pan the camera.
A bright and sunny day might seem like the ideal environment for capturing clear and colorful photographs, but too much sunlight can create dark shadows in your images. The ideal conditions are partly sunny to partly cloudy. A thin veil of clouds will produce a diffused light optimal for outdoor photography.
You also need to pay attention to the fishes’ placement in the pond at the time of your shot. Any dark areas behind a fish means that the camera will automatically overexpose the image, creating a photo that looks blurry or hazy. You can use a gray card to measure camera exposure, but make sure the light falling on the card is the same quality as the light falling on the area of the pond you’re going to photograph.
Are you ready to add a new fish to your pond? Shop our full selection of koi and pond goldfish today.