Koi Fish Facts
A Day In The Life Of A Koi Photographer
I’m Hoon Lee from NextDayKoi and I’m one of the four Koi photographers here. Along with Crystal Tucker—pictured in the main photo, Gabe Asturias and Brett Lin, we are responsible for all the koi photography and listings that you see on our website and eBay!
In today’s blog post, we’re inviting you to join us in a behind-the-scenes look at how we photograph Koi. Let’s get started!
Picking and Measuring Fish
Being a Koi Photographer may not be the most thrilling job, but it’s by far one of the most fun jobs I’ve had.
We start off picking out fish that we see are healthy and beautiful to be listed on our website and eBay store. Usually this process takes about 15-30 minutes depending on the quality of the Koi, size of the Koi, and quantity of the Koi that need to be shot in a given day.
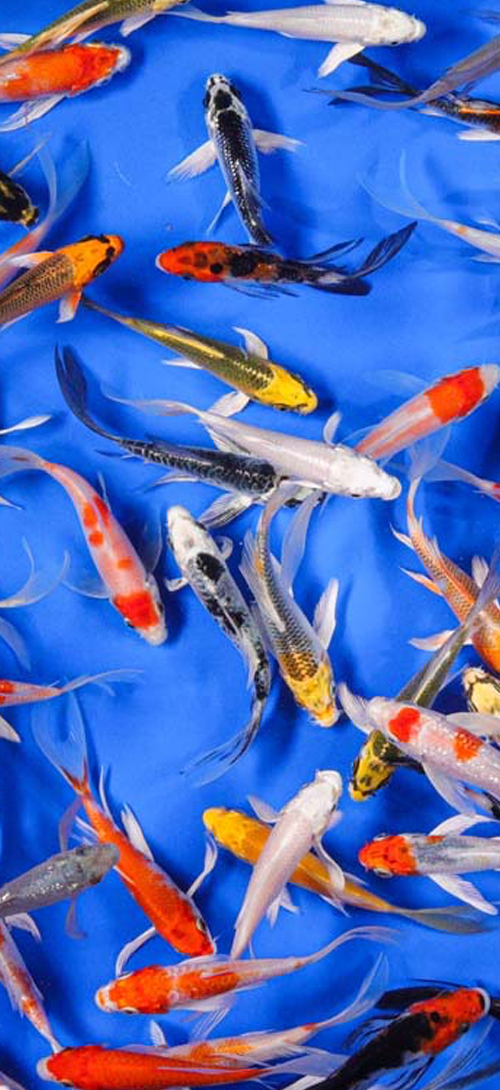
We take pictures of small Koi, medium Koi, large Koi, Koi that are bigger than our heads, Koi that are smaller than our fingers, and every type in between.
Each Koi Photographer can shoot pictures of up to fifty Koi a day if the Koi are well-behaved. My most shot in a day was 53. (Yes, it’s a rare competition here at the office.)
The photographers doing photography things.


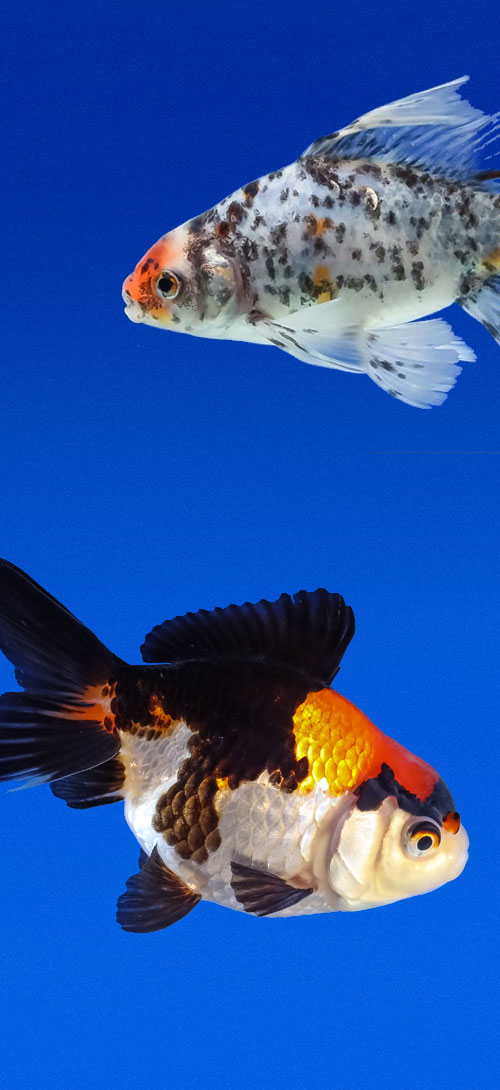
We also do Goldfish Pictures but that’ll be a blog post for another day!
Standard Fin Koi
There are two sets of photos that we take depending on the Koi. With Standard Fin Koi (that you see here), we take up to 7 shots detailing the top and the sides.


Simple enough, right? For the bigger fish (8+ inches) a few of our customers wanted to see the scales up, close and personal. Because of that, we now use a separate macro shot of the head and neck of the Koi to show off the beautiful scales. We take into account what our customers want!
Can you guess what Koi these are just from the scale color and pattern?


We aren’t afraid to implement additions/changes to make sure our Koi are represented as accurately as possible.
As you can probably tell, Standard Fin Koi are the easiest to shoot as most of them are quite calm in the water while we shoot. However, Butterfly Fin Koi are a different matter.
Butterfly Fin Koi
Kikusui Butterfly Koi


From the pictures, you can tell that the pictures from the Butterfly Koi are somewhat similar to the Standard Fin Koi but the photography process takes a little longer since we want our Koi to twirl!
Our first shot is called the “Gallery Shot” in which we want to showcase all of the flared out fins of the Butterfly Koi which looks like the Fibonacci Sequence.
Every Koi has a different behavioral nature so some of them will twirl out their fins willingly or they could just float in the water not doing anything. It may get frustrating starting out but as you develop a sense of how the Koi swims, you will know when to take the shot.


The rest of the photos follow suit with the Standard Fin to showcase the sides, tops, and curves.
Equipment
Some of our customers ask us what equipment we use to take pictures of Koi in hopes that they can, too.
Being a Koi Photographer isn’t expensive, but it can be time-consuming. It isn’t necessary to get the most top-of-the-line DSLR with the beefiest lens to take pictures of Koi for your own personal projects.
As long as you’re using something that takes pictures, the only thing needed is a light. Or maybe even a few of them. Lights are a necessity in Koi Photography, and while I could spend a whole day talking about them, the basic understanding is that they are imperative to illuminate your subject.
Polarizing filter against lights (Taken with A7 II w/ 28-70mm lens – ISO 1600, SS 1/200th)


To kill two birds with one stone, look at the pictures above. Lights definitely help to illuminate the subject and the polarizing filters help to thin out glare from shiny surfaces such as water and windows. I’m not saying that is the only way to take pictures of Koi or fish in general for this matter. Our experience leads us to believe that this is one of the most efficient and accurate ways to do our job.
As we want to be as humane as possible towards all Koi, we use specialized tools to help aide our process in shooting fish. This is a small culling net which helps prod the Koi to twirl around and flare out its beautiful fins.

Check out this link for a more in-depth look at the process of Koi Photography.
You have probably wondered why we use black nets and blue nets. We use black nets when the Koi are predominantly blue/red, yellow, and white to counteract any bouncing colors which could skew the actual color representation of the Koi. Koi can actually reflect the net color and in turn it could potentially change the color of the photo. The blue nets are for every other Koi or Koi that have black patterns which would be difficult to spot in a black net.
What do you think looks better?


Naming Koi
Being a Koi Photographer means that you also need to know all names/species of Koi. However, from time to time, it can be difficult to identify the breed of Koi.
To the untrained eye, these two butterfly Koi look similar. However, did you know that these two are entirely different breeds? Sometimes even we get it wrong.
Occasionally, we also give our Koi cool names like “Blood Moon” or “Golden Hour” because it really catches the eye of everyone in the office. We don’t have names for all of the koi, only when one really catches the photographers’ eye. Also, some fish need to have cool names, because, why not?
Sapphire Red Panda Gin Rin Asagi
After the photos are all said and done, we crop and adjust for exposure in Lightroom, do some data-entry, and list them on eBay and nextdaykoi.com!
There you have it—a sneak peek of what goes behind the scenes over here at NextDayKoi!
We are always open to suggestion in helping you get the best possible look at your next Living Jewel. If you would like to send suggestions to help better our visual service, don’t hesitate to e-mail me or the other Koi Photographers at hoon@nextdaykoi.com.
You can subscribe to our newsletter for future sales and important information regarding Koi.


